
OSRS Legends Quest Guide
Feb-23-2022 PSTIntroduction
The quest is about exploring the map of the Kharazi Jungle, which is located in the southern section of Karamja Island. The objective is to establish relations with the natives of the jungle and bring back a gift to display in the Legends’ Guild.
Quest Requirements
● 107 Quest Points
● Family Crest
● Heroes Quest
● Shilo Village
● Jungle Potion
● Underground Pass
Skill Requirements
● 50 Agility
● 50 Crafting
● 45 Herblore
● 56 Magic
● 52 Mining
● 42 Prayer
● 50 Smithing
● 50 Strength
● 50 Thieving
● 50 Woodcutting
Items Required
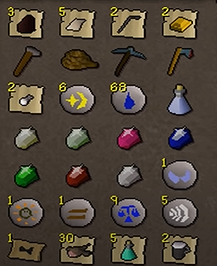 ● Charcoal
● Unpowered Orb
● Runes for Orb spell
● Pickaxe
● Vial of Water
● Rope
● Soul, Mind, Earth, and Law Runes
● Food, Armor, and a Weapon
● Lockpick
● 2x Gold Bars
Walkthrough
To start the quest, speak to the guard standing outside the Legends’ Guild. They’ll allow you through the gates. Speak to Radimus Erkle to get your assignment and begin the quest. He’ll want you to befriend the natives of the jungle and get a Totem Pole from them, as it needs to be displayed in the guild.
Grab Papyrus and Machete on your way out as you’ll need them later in the quest.
Head to Ardougne city, take the boat to Brimhaven, and from there, take Hajedy’s cart to get to Shilo Village. You can alternatively use the Fairy Ring to get to the jungle. At the entrance of the jungle speak to a Forester. He’ll want you to show him something impressive in exchange for a special item.
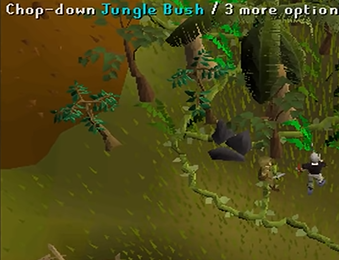
Cut your way through the jungle wall to get inside; use your machete and hatchet. Once inside, map down the jungle using Papyrus and Charcoal. You can do that by clicking on Radimus Notes and selecting the ‘Complete’ option.
Once the notes are complete, speak to the Forester again and hand him the notes in exchange for a Bull Roarer. Now, go to the Totem Pole that is located east of the water pool, and swing your Bull Roarer to call Gujuo. Speak to him and he’ll ask you to free his tribe’s shaman called Ungadulu, who is trapped inside his cave.
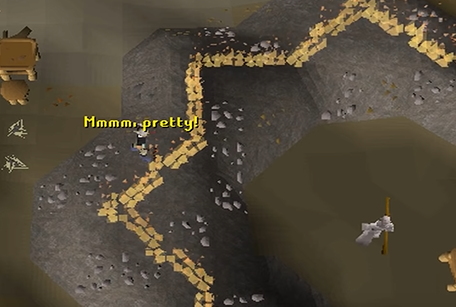
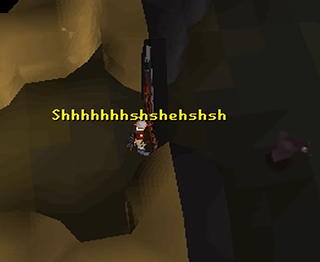
You need to now go to the northwestern corner of the jungle and locate rocks that are arranged in a triangular figure. Squeeze through them to climb down the cave. You’ll notice an octagonal firewall and Ungadulu trapped behind it. Investigate the flames and speak to him to know that you can use Holy Water to douse the flames.
You need to start investigating three things in the cave – a table with a scribbled note, a bed with a scrupled note, and a crate with a scrawled note. Gather the notes, get out of the cave, and call Gujuo again. He’ll draw you a sketch of the vessel when you ask him about the Holy Water.
Take the sketch, along with a Hammer and 2x Gold Bars to an anvil. The closest one is in Tai Bwo Wannai Village. Once you have crafted the vessel, go back to the jungle and call Gujuo. Enchant the Vessel and take it to the Sacred Water Pool that is located in the middle of the jungle.
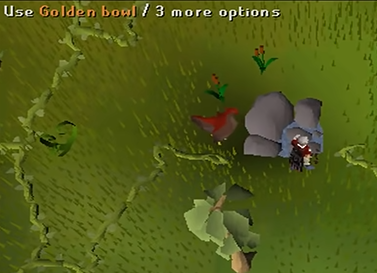
Use a hallow reed to siphon the water into the vessel because you won’t be able to directly reach it. This can be done by using your Machete on the tall reeds that are located by the pool, thus, creating a hallow reed.

Head back to the cave and use the Holy Water on the wall, and then search the desk to locate the Shaman’s Tome. Now, squeeze through the crevice that is behind the eastern bookcase and walk down the path to find an Ancient Gate. Open the gate with a lockpick, go through it, and mine the three boulders out of your way.
You’ll now come across a second Ancient Gate, which can be pushed open with your Strength. Keep your Protect from Melee on as there are level 83 Death Wings on the other side. Go south, then move a little towards the southwest, and then keep going northwest till you find a Jugged Wall. Jump over it to complete the agility obstacle.
On the west side of the corridor, you’ll find a marked wall that needs to be searched to obtain a riddle. Insert the runes in the following order; 1 Soul, 1 Mind, 1 Earth, and 2 Law Runes to open a passage. Once you’re inside, you’ll see Stalagmites in seven water pools. You need to fit the gems in these Stalagmites.
Once that’s done, a Binding Book will appear, so pick it up and teleport of the area. Go to the first level of the cave and use your holy water to douse the flames, and then use the Binding Book on Ungadulu to release the demon.
Nezichened is a level 187 demon, so make sure you bring Arclight, Silverlight, or Dark Light for your advantage during the battle. The demon drains almost 90% of your Prayer so bring several Prayer Potions with you. Another thing to keep in mind is his Fire Blast attack before dying; you can survive the hit if your HP is up.

Ungadulu will thank you and hand you some Yommi Tree Seeds. Ask him how to get out, and he’ll cast a spell to protect you from the flames. You can now exit the cave safely.
Get your gold vessel refilled from the Sacred Water Pool, and then use the Holy Water on the seeds to germinate them. When you go back to refill the vessel, you’ll notice that the water pool is dry. Use the Bull Roarer to call Gujuo, and he’ll tell you about the underground source. He’ll also bring it to your notice that you’ll need a Bravery Potion to go into the underground tunnels.
You’ll need Snake Weed and Ardrigal to make the potion. Snake Weed can be found by searching the vines near the water (west side of Tai Bwo Wannai Village). Ardrigal can be found by searching the palm trees that are in the northeastern part of the village (near the Harpie Bug Swarms). Clean both the herbs and mix them into a Vial of Water to make the potion.
Go back to the cave and walk all the way to the area where you found the Binding Book. There’s another Ancient Gate there on the northern side. You need to cast the Charge Orb spell on it to enter. Once you’re inside, use a rope on the winch in the room, drink the Bravery Potion and head down.
To the right of the ladder, on your way down, you’ll find a Blue Wizard Hat, which can be used to summon the Spirit of Viyeldi. He’ll recite a poem to you about what’s to come in the future. You need to explore the tunnels and fight against three undead NPCs; Ranalph Devere, San Tojalon, and Irvig Senay. Once you’ve defeated them, go to the northeastern corner and forge the crystal parts on the lava furnace to make a Hear Shaped Crystal.
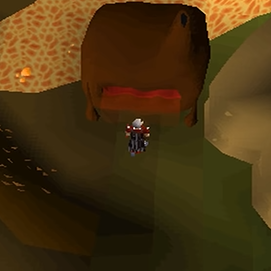
Go to the center of the cave (looks like the head of a dragon), place the crystal on the mossy rock, and take the glowing crystal to the southeastern corner of the cave. Locate the heart-shaped recess and place your crystal on it to pass through.
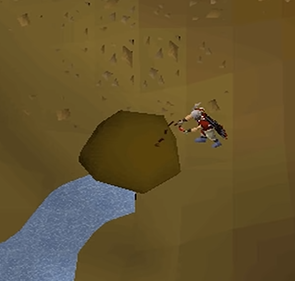
On the other side of the wall, there are three lesser demons, and just past them to the west is the source of the Holy Water. Push the boulder that is blocking the source.
When you start pushing the boulder, a ghost named Echned Zekin will appear and give you’re a Dark Dagger to help him kill the Spirit of Viyeldi. Go back to where you first encountered the Blue Wizard Hat, summon the Spirit of Viyeldi, and kill it with the dagger.
Now, go back to tell Echned Zekin that you’ve killed it. That’s when he’ll reveal himself to be Nezichened and attack you, so finish him off and push the boulder to restore the water flow.
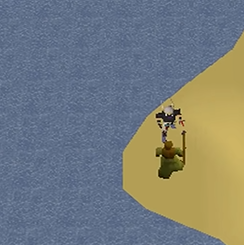
Head back to the restored Sacred Water Pool, fill your vessel with Holy Water and use it on the Yommi Seeds to germinate them. Locate a fertile path, which is marked brown on the map, and then plant the seeds in the soil.
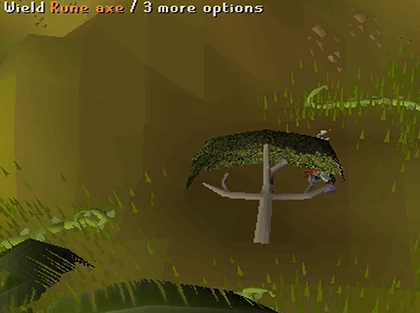
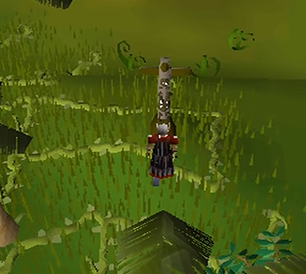
When the tree reaches the second growth stage, use the vessel to water it, thus, making it an adult Yommi Tree. Use your axe to chop its branches and shape it into a Yommi Totem. Don’t wait too last as it’ll rot.
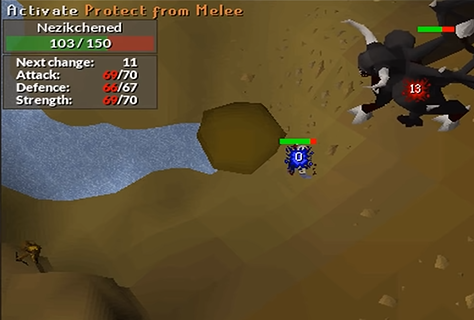
Make sure that your vessel is filled with Holy Water for this part. Head northwest of the water pool to find a dark totem, and then before replacing the totem you just made, drink your Super Potions and switch Protect from Melee Prayer on.
Once the totem is switched, Nezikchened will spawn and summon three undead warriors one by one. After his warriors are defeated, your focus needs to shift on Nezikchened itself. His Magic and Melee attacks are more effective than the previous battle. You can only kill him using Ranged attack style, Magic, or Halberd.
Once he’s dead, replace the totem, and use your Bull Roarer to summon Gujuo. He’ll thank you and reward you with a Gold Totem Pole. Take the item, along with the completed Radimus notes to Radimus Erkle to complete the quest Legends’ quest osrs.
I hope OSRS Legends Quest Guide will be helpful to you, RSorder also provides various osrs quest helper services! Other products are also available, for example, you can buy OSRS gold at the cheapest price.